
Limewash Painting: Technique, Benefits and Application
A complete guide to limewash walls — materials, application process, colors, and professional tips for San Diego homes
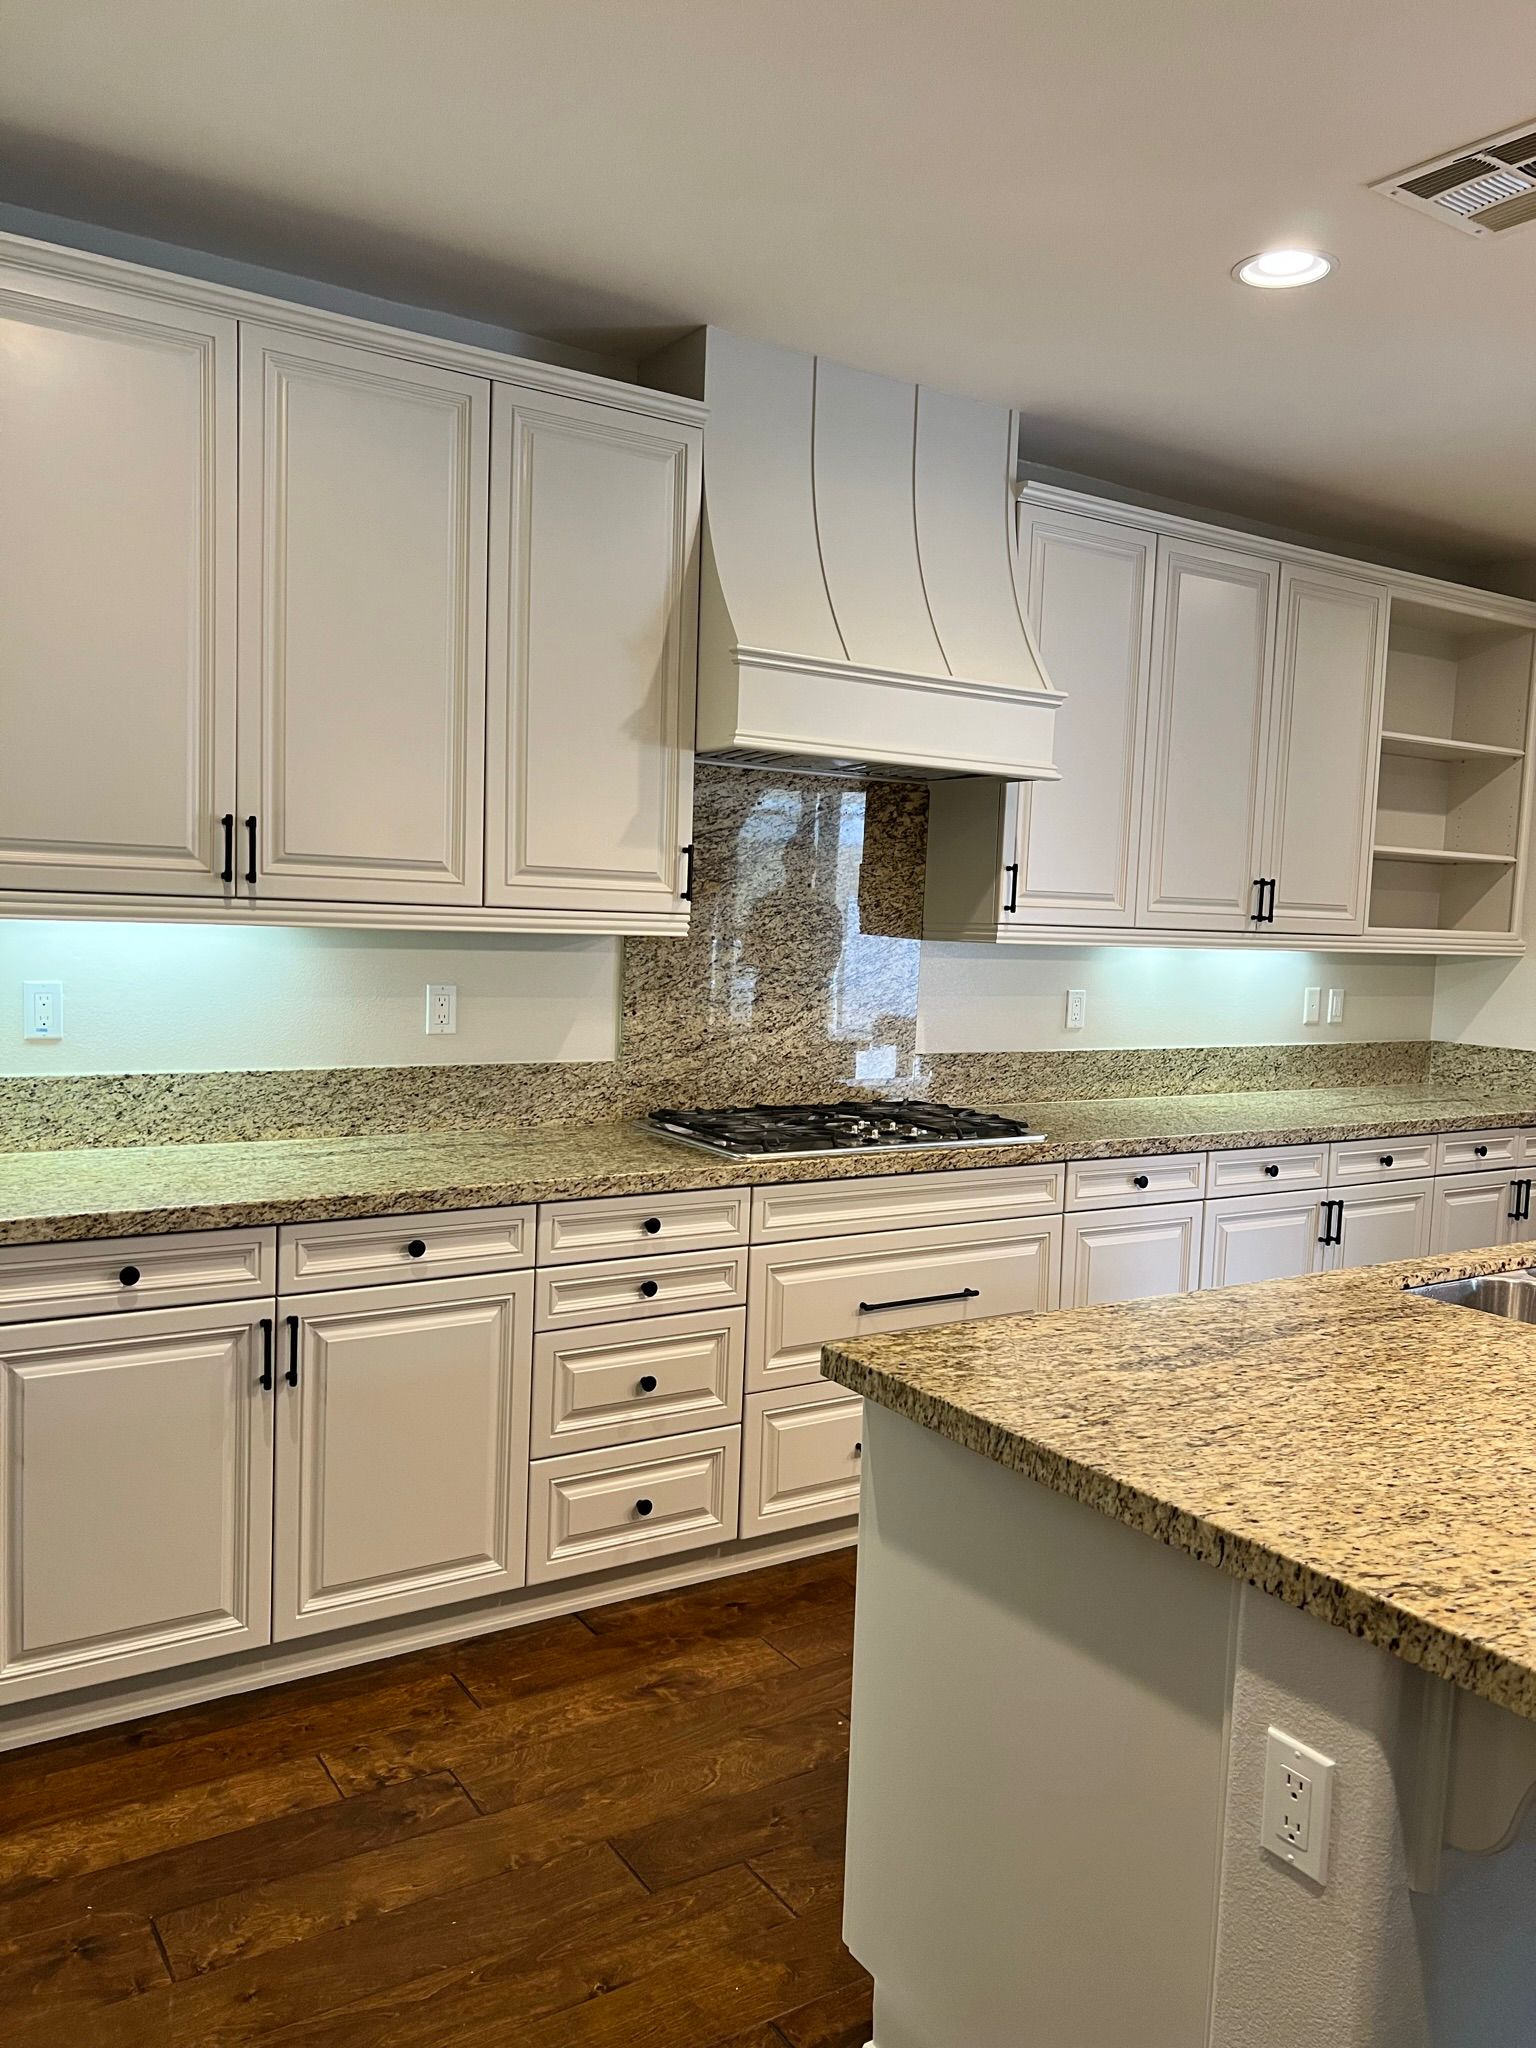
Limewash is one of the fastest-growing interior finish trends in San Diego remodels. It's been used for centuries on European plaster walls — and its matte, layered, organic look translates perfectly to contemporary California design. Whether applied to a single accent wall in a living room or throughout a full home, limewash creates a finish that standard paint simply cannot replicate.
Unlike most trends in interior design, limewash has historical longevity. It was the default wall finish in Mediterranean, Italian, and Spanish architecture for hundreds of years before synthetic paints existed. The current revival isn't about novelty — it's homeowners rediscovering a naturally beautiful material that aged better than anything that replaced it.
What Is Limewash Paint?
Limewash is made from slaked lime (calcium hydroxide) combined with water and natural pigments. It's not paint in the conventional sense — it doesn't form an opaque film over the wall the way latex does. Instead, it penetrates slightly into the surface and is applied in thin, translucent layers that interact with each other to create depth and natural color variation.
The variation IS the finish. Limewash is not meant to look uniform. Each section of wall will show slightly different color saturation, tonal variation, and texture depth depending on how the coats were applied and wiped. This is by design — it's what gives limewash its organic, handcrafted appearance.
It's also a naturally breathable coating. Because limewash allows moisture vapor to pass through the wall rather than trapping it, it was historically used on masonry and plaster in climates where wall moisture was a concern. In California, where low-VOC building standards are strict, limewash is a natural fit — it contains no synthetic chemicals and off-gases nothing of significance.
Limewash vs. Standard Latex Paint: Key Differences
Understanding what makes limewash different from standard paint helps set expectations for how it behaves:
- Finish: Limewash is matte, with organic variation. Standard latex is uniform and consistent in sheen.
- Application: Limewash requires multiple thin coats worked wet-on-wet with a natural bristle brush, then wiped back. Standard latex is rolled or brushed to consistent coverage.
- Coverage: Limewash is semi-transparent. You can see through it to some degree. Standard latex is opaque.
- Touch-up: Limewash blends seamlessly into existing application — touch-ups are virtually invisible. Standard latex touch-ups often show sheen and texture differences.
- Durability: On masonry and plaster, limewash lasts 10–20+ years. On drywall, 8–15 years with normal care.
- VOCs: Zero. Limewash is made from natural lime — no synthetic solvents or biocides required.
Best Surfaces for Limewash in San Diego
Limewash bonds to most porous, breathable surfaces. The key is that the surface must be able to accept the lime — it can't be too sealed, too smooth, or coated with a high-sheen paint.
- Drywall: Must be primed — bare drywall absorbs limewash too unevenly and creates blotchy hot spots. A PVA primer or diluted limewash primer seals the paper without creating a fully non-porous barrier.
- Brick: Limewash on brick is the original application — it creates the characteristic aged brick look seen on European farmhouses. The lime seeps into the mortar joints and brick face, creating depth that can't be faked with paint.
- Stucco: Interior and exterior. Stucco is a natural substrate for lime-based coatings. Historically, exterior stucco was finished with limewash as a matter of course.
- Plaster walls: Older San Diego homes in North Park, Mission Hills, and Hillcrest often have original plaster walls — an ideal substrate for limewash.
Not recommended: Previously painted surfaces with high-sheen finishes must be fully deglossed or primed before limewash will adhere properly. Semi-gloss and gloss surfaces will cause the limewash to bead and not penetrate.
The Application Process — Step by Step
Limewash application is more involved than standard painting, and the technique is what separates a professional result from a DIY attempt.
Step 1 — Surface Preparation
Clean the wall thoroughly. Fill holes with spackling and sand smooth. On drywall, apply a PVA primer or diluted limewash primer coat to seal the surface. On previously painted walls with flat or eggshell finish, a light scuff sand (180-grit) may be sufficient — test a small area first.
Step 2 — First Coat Application
Dilute the limewash per the manufacturer's recommendation — most products specify a dilution ratio that produces the right working consistency. Never apply limewash too thick; multiple thin coats produce better results than one heavy coat.
Apply with a natural bristle brush (synthetic bristles don't hold enough material for the texture) using X-pattern strokes — diagonal in both directions. Do not use a roller for limewash; rollers create a stipple pattern, not the layered variation that defines the finish. Work in manageable sections — roughly 3 feet by 3 feet — staying wet into the adjacent section.
Step 3 — The Wipe-Back (The Defining Step)
This is the step that creates the characteristic limewash look, and it's the step where timing is critical. While the coat is still wet but beginning to tack — typically 15 to 30 minutes depending on temperature and humidity — use a damp rag, sponge, or damp cloth to wipe back sections of the limewash in irregular patterns.
The wipe-back removes some material, exposing the lighter surface below. Where you wipe more, the tone gets lighter. Where you leave more material, it stays darker. This creates the tonal variation that gives limewash its depth.
Timing is everything: too early and the entire coat wipes off cleanly with little effect. Too late and the limewash has set and won't wipe back. In San Diego's moderate climate, the window is reliable — but watch for particularly warm and dry days when the material sets faster.
Step 4 — Second Coat
Allow 24 hours for the first coat to fully dry before applying the second. Apply the second coat in the opposite direction from the first — if the first coat was applied diagonally from lower-left to upper-right, apply the second from lower-right to upper-left. Repeat the wipe-back process. The cross-hatched application creates layered depth that's invisible up close but adds tremendous visual richness from across the room.
Step 5 — Optional Sealer
In bathrooms, laundry rooms, or high-traffic areas, apply a matte limewash sealer or diluted plaster wax after the final coat has cured. In living rooms, bedrooms, and dining areas, no sealer is needed — the lime carbonates naturally and becomes harder over time.
Popular Limewash Colors in San Diego Remodels
The color range for limewash is determined by the natural pigments mixed into the lime base. Some of the most popular choices we see in San Diego projects:
- Warm whites and creams: The most popular choice for the organic, Italian plaster look. Works in virtually any interior style from transitional to contemporary.
- Terracotta and clay tones: Perfect for Spanish Revival and Mediterranean homes throughout San Diego — Coronado, Mission Hills, Point Loma, Encinitas.
- Sage and olive greens: Growing in popularity for contemporary coastal remodels where homeowners want something more distinctive than white or gray.
- Charcoal and deep grays: Dramatic accent walls in dining rooms and living rooms. Works beautifully against white trim and warm hardwood floors.
Recommended products we work with: Portola Paints Lime Wash, Romabio Classico Limewash, and Sherwin-Williams' newer limewash line. Each has slightly different working characteristics — Romabio is the most traditional formulation; Portola Paints is very user-friendly with a well-calibrated working window.
Where Clients Use Limewash in San Diego Homes
The most common applications we see:
- Living room accent walls — the single most popular application
- Full dining room treatment — limewash in a dining room reads very differently from a bedroom; the varied texture becomes part of the room's character
- Primary bedroom feature wall behind the headboard
- Bathroom walls — sealed with plaster wax in moisture-exposed areas
- Fireplace surrounds — the non-combustion surround area only, not the firebox
- Entry and foyer — high-impact first impression at relatively low cost compared to stone or paneling
DIY vs. Professional Limewash Application
Limewash is more achievable for DIY than Venetian plaster or concrete overlay — but the wipe-back timing window and the difficulty of maintaining consistent color saturation across large surfaces make it less forgiving than standard paint.
Common DIY problems include: blotchy results from inconsistent wipe-back timing, visible lap marks where sections dried before being worked together, and color that reads too uniform (because the applicator didn't vary the wipe-back enough) or too chaotic (too much variation without enough structure).
When a professional makes sense: full-room application, high ceilings or two-story walls, exterior stucco limewash, or projects where a specific color target needs to be hit precisely. Our painting and specialty finishes team applies limewash throughout San Diego as part of kitchen and bathroom remodels, full-home renovations, and as standalone decorative finish projects. You can see finish samples in person at our San Diego showroom.
For more on related specialty textured wall finishes, including Venetian plaster, skip trowel, and knockdown, see our full texture guide.
Frequently Asked Questions
How long does limewash paint last?
On properly prepared drywall, limewash paint typically lasts 8–15 years. On masonry, brick, and stucco, it can last 20+ years. Interior walls with normal wear should not require touch-up for many years — and when they do, spot repairs blend naturally because of the finish's built-in variation.
Can limewash be applied over existing paint?
Yes, with proper prep. Existing high-sheen paint should be deglossed or primed first. Flat and eggshell surfaces can often accept limewash directly with light scuff sanding. We test a small section first to confirm adhesion.
Does limewash work in bathrooms?
Limewash can be used in bathrooms on walls that don't receive direct water contact. It should not be used as a tile replacement in shower or tub surrounds. A matte plaster wax or diluted sealer is recommended in bathrooms for moisture resistance.
Is limewash paint expensive?
The material cost is similar to mid-range latex paint. Professional application costs more per square foot than standard painting because the technique is more labor-intensive — typically 30–50% more than standard painting. Results are significantly different from anything you can achieve with standard paint.
How do I maintain limewash walls?
Limewash walls require almost no maintenance. Wipe down with a damp cloth. Avoid abrasive cleaners. Small scuffs or marks often disappear with a light damp wipe. Touch-up blends naturally into the existing finish.
Interested in Limewash for Your San Diego Home?
SD Remodel Experts applies limewash, Venetian plaster, and decorative finishes as part of full remodels and as standalone painting services.